Sunday, April 17, 2011

Dark Eldar Archon-Flayed Skin

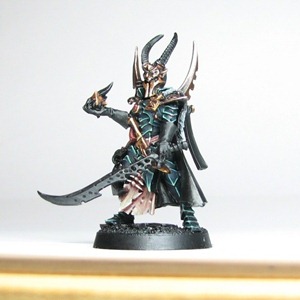
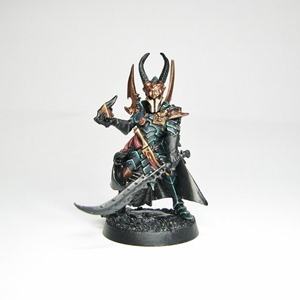
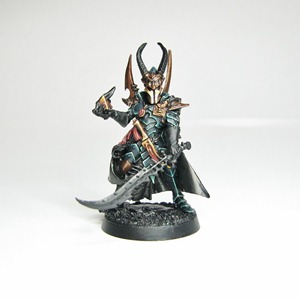
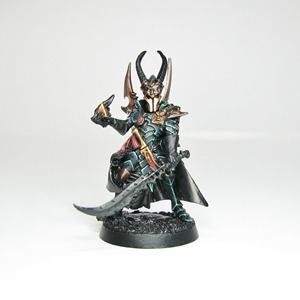
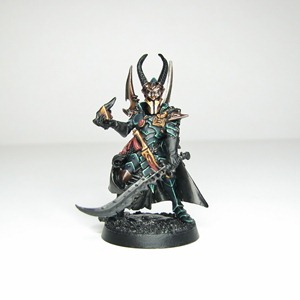
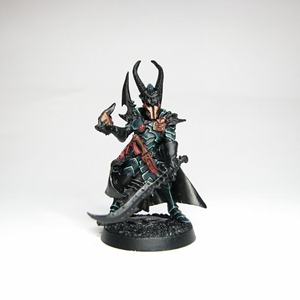
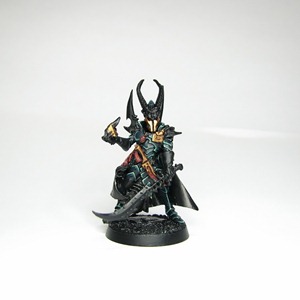
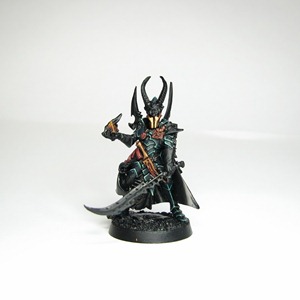
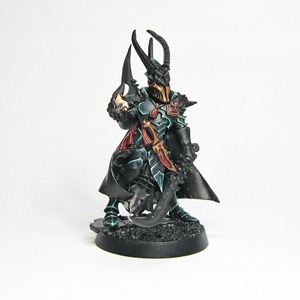
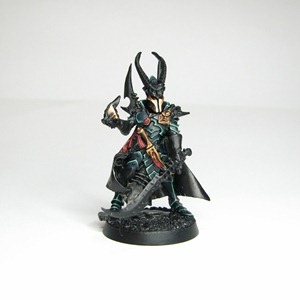
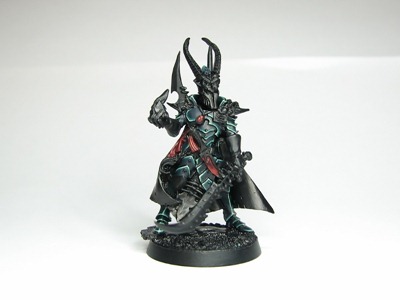
Just another update on the Dark Eldar Archon.  I finished the flayed skin and fur pelt on his back.  Sadly, I couldn’t stop and take step-by-step photos for this one as wet blending doesn’t really allow for it, but the steps are typed out for you below the picture.

Archon Flayed Skin Final

Step 1.  I started by basecoating the flayed skin with Tallarn Flesh.

Step 2.  The flayed skin was shaded with a 1:1 mix of Dark Flesh and Liche Purple that was thinned and applied into the recesses.

Step 3.  The whole area was washed with Ogryn Flesh.

Step 4.  I then highlighted the flayed skin with thinned Rotting Flesh.

Step 5.  The flayed skin was highlighted again with a 1:1 mix Rotting Flesh and Skull White.

Step 6.  Further highlighting was done by adding more Skull White to the previous mix.  Approximately 2:1 Skull White to Rotting Flesh.

Step 7.  Lastly some edge highlighting was done by adding in more Skull White to the previous mix.  Approximately 3:1 Skull White to Rotting Flesh.


Thursday, April 14, 2011

Dark Eldar Archon-Bronze Step-by-Step

The title pretty much says it all.  I’m really pleased with how this model is coming along I may even end up mounting him on a plinth.  On to the tutorial…


Archon Bronze Stage1

Step 1.  The bronze details were first basecoated with a 1:1:1 mix of Tin Bitz, Dwarf Bronze, and Scortched Brown.

Archon Bronze Stage2

Step 2.  A second basecoat was applied using a 1:1 mix of Tin Bitz and Dwarf Bronze.

Archon Bronze Stage3

Step 3.  A 2:1 mix of Devlan Mud and Chaos Black was carefully applied into the recesses and joints of all the bronze details.

Archon Bronze Stage4

Step 4.  The raised areas, spikes and edges were highlighted with a 1:1:1 mix of Tin Bitz, Dwarf Bronze and Mithril Silver.

Archon Bronze Stage5

Step 5. A fine edge highlight of pure Mithril Silver was then applied to only the most prominent features and tips.  The bladed edge of the spikes then got a wash of the 1:1 mix Devlan Mud and Chaos Black and were finished off by taking the mix from step 4, thinning it heavily and glazing it over the washed edge.

Disclaimer: If you choose to apply this tutorial and/or the last one covering the gold details to your new Tomb Kings army… You will never finish painting your models.  ;)


Saturday, April 9, 2011

Dark Eldar Archon-Gold's

As promised I’m back with another step-by-step painting tutorial with photos.  This time around I’m doing the gold bits of the Archon.


Archon Gold Stage1

Step 1.  The gold bits were base coated with a 1:1 mix of Scorched Brown and Shining Gold.

Archon Gold Stage2

Step 2.  They were then layered with Shining Gold to bring up the color.

Archon Gold Stage3

Step 3.  Shading was done with a 2:1 mix of Ogryn Flesh and Leviathan Purple.  This mix was applied to the recesses and parts where shadows would form.

Archon Gold Stage4

Step 4.  To further shade the gold Devlan Mud was washed into the recesses.

Archon Gold Final

Step 5 & 6.  The edges were highlighted with a 1:1 mix of Burnished Gold and Shining Gold followed by an edge highlight of pure Mithril Silver.  These two steps are combined because sometimes it’s necessary to go back with the gold mix and ‘glaze’ it onto the extreme highlights to tone them down a bit.

Next up I’ll be tackling the brass details of the shoulder guards, knee pad and helm so stay tuned and as always, thanks for stopping by.  Cheers!

Monday, April 4, 2011

Dark Eldar Archon-Reds

Hi all, just a small update on the Archon.  I didn’t bother to stop and take step-by-step photos on this one because there just isn’t that much to cover.


Archon Reds Final

Step 1.  Lay down a base coat of Mechrite Red.

Step 2.  Build up the colour with Blood Red.

Step 3.  Apply a wash of Devlan Mud directly into the recesses.

Step 4.  Highlight with thinned Blazing Orange.

Step 5.  Edge highlight with Vomit Brown.

Step 6.  Wash with Baal Red.


The next update will be a step-by-step with photos of the metals so check back soon.  Thanks for stopping.  Cheers!

Recommended Posts

Blog Widget by LinkWithin