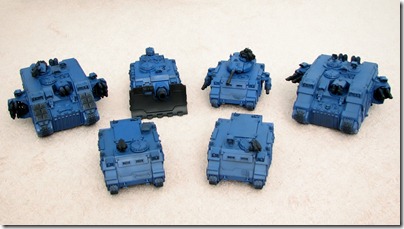
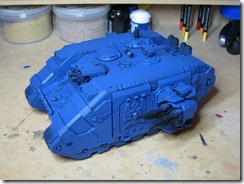
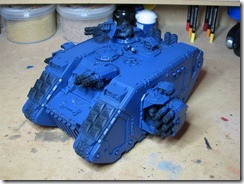
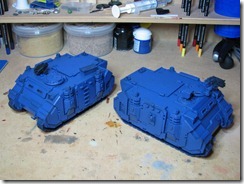
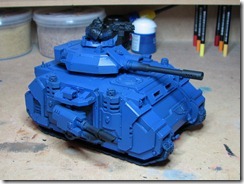
I managed to pull myself away from my PS3 long enough to finish airbrushing my Ultramarines tanks and make this blog post, but it’s going to be a short one because time spent blogging is time spent not playing Space Marine.
Unfortunately I don’t have a ton of useful information to offer with this post. It’s really more of an update on my progress, but what I have learned thus far in my airbrushing experience is:
- Learning distance vs. trigger pull (amount of paint allowed to flow) is key.
- Just like using a bristle brush multiple thin coats is still better than one heavy/thick coat.
- Moisture traps are a necessity. When the compressor starts to get hot their will be condensation that accumulates in the air hose. If not dealt with it will create splatter spots on the model.
- Citadel Foundation paints will clog your airbrush if not thinned properly with Liquitex airbrush medium (or other quick-dry medium) and warrant a little extra effort to clean up the airbrush after using them.
- The fluid nozzle does not need to be removed and cleaned after every use.
- The airbrush needle is a lot more rugged than what I was initially lead to believe. This may be solely the design of the Grex needle as I have nothing to compare it to.
An airbrush is an amazing tool and I regret not buying one sooner. Next in line are the infantry squads, two tactical squads and a terminator assault squad. I’d like to note that tanks, especially the Land Raider look infinitely cooler with the Forge World extra armour kit.
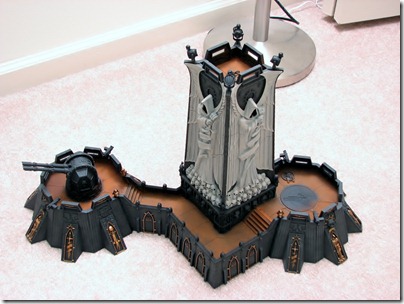
On another note I keep making headway on the Fortress of Redemption (FoR). I’m not sure I’ve ever mentioned that I’m working on this before now. The FoR is a superb kit and to say it’s big is an understatement. This kit is massive. I bought the kit on its release day and have struggled painting it from day one because of its size, but never the less I chip away at it little by little when I can. The tower section has undergone three paint jobs before I could get the angel to look how I wanted it and while it’s still not finished I have the foundation correct for where I want to take it. Tonight I started the floor sections using the MIG Vietnam Earth weathering pigment.
I’m taking leaps into all kinds of unknown hobby techniques… airbrushing, weathering pigments. Where will it end? So far I’m not enjoying weathering pigments. They’re incredibly messy and get on absolutely everything. The amount of time I’ll need to invest in touchups makes me weary to use them often if at all.
So this post ended up being longer than anticipated, but that’s OK, its not like Space Marine has an expiration date on it. Which reminds me, my milk does expire today so I need to go make a giant glass of chocolate milk. I’m off to do just that… Thanks for dropping by and reading. Cheers!

